Next-Level Authentication: Exploring Keycloak REST API Integration in Node.js
Written by Fredcode
In today's digital world, security is of utmost importance when it comes to user authentication. Keycloak, an open-source platform, provides single sign-on (SSO) and multi-factor authentication (MFA) for web applications. One of the best ways to use Keycloak is through its REST API. In this article, we will explore how to integrate Keycloak's REST API with Node.js to achieve next-level authentication for our applications.
I’m assuming you already have keycloak installed in your system and you know the basic configurations of the keycloak app like setting the realm, client-id etc. if this is not you I’d recommend you to learn the basics of how to set up keycloak before reading this.
To get started, we need to obtain the following configurations: the realm name, auth-server-url, client-id, client-secret, Keycloak admin client ID, username, password, and client secret.
To obtain these configurations, we'll need to log in to our Keycloak admin console and navigate to the relevant sections. Here's how to find each configuration:
- realm name: This can be found in the top left corner of the admin console, under the "Master" realm dropdown. If you've created a new realm, it will be listed here instead.
- auth-server-url: This is the URL of your Keycloak server. You can find this in the "Overview" tab of the admin console, under "Server Info".
- client-id: This is the ID of the client application that will be using the Keycloak API. You can create a new client by navigating to the "Clients" tab of the admin console and clicking "Create".
- client-secret: This is a secret key that is used to authenticate the client application with the Keycloak server. You can generate a new secret key by clicking on the "Credentials" tab of the client application you created in the previous step.
- Keycloak admin client ID: This is the ID of the Keycloak admin client that will be used to authenticate API requests. You can find this by navigating to the "Clients" tab of the admin console and selecting the "admin-cli" client.
- username and password: These are the credentials used to log in to the Keycloak admin console. You may have set these up during the initial Keycloak installation, or they may have been provided to you by your system administrator.
With these configurations in hand, we're ready to begin integrating the Keycloak REST API with our Node.js application.
To set up your node app, you will need to take several steps. First, you should create a new directory for your project we will be using ‘user-authentication-with-keycloak’ as the directory name.
Once you have done that, you can use a package manager like npm to install the necessary dependencies. Don't forget to add a package.json file to your project directory to keep track of the dependencies and their versions. you can get the package.json from the source code at https://github.com/fredcodee/user-authentication-with-keycloak
Once you have installed the dependencies, you can start writing your code. You may want to begin by creating a server.js file to handle requests and responses. Don't forget to import any necessary modules and set up any middleware you may need. You can then create your routes and handlers, using the express.js framework or another framework of your choice.
Since I already have a prebuilt node app, we will be using it for this blog post and I will quickly explain through it rather that start from scratch so we can get into the spicy part “adding keycloak”
The Node app
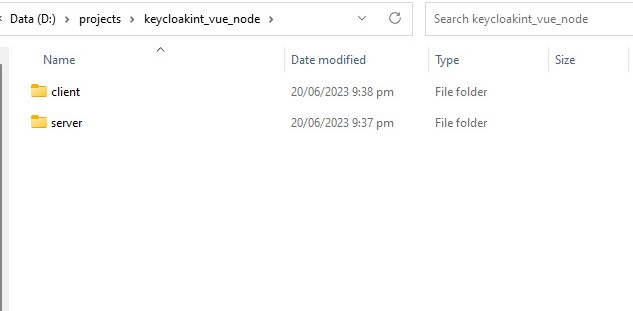
in the first image we created a client and server folder inside out project directory
meaning client folder for our front-end app which we will get to later on and server folder for our back-end app which we are focusing on right now
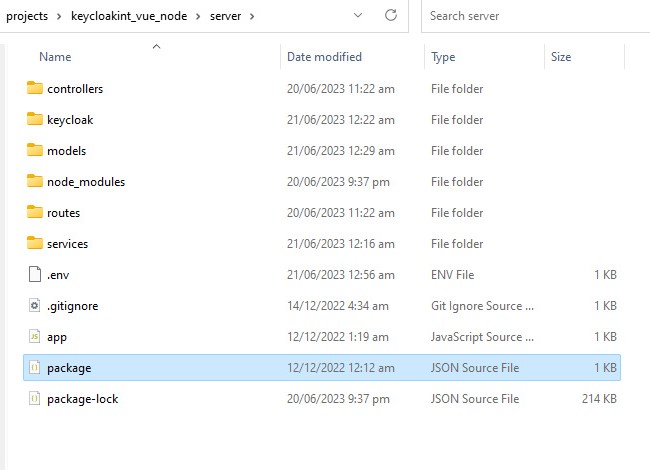
The second image is our server AKA node app
package & package-lock : "package" and "package-lock" files are crucial for managing dependencies and ensuring consistency in Node.js projects. By maintaining these files and using them correctly, developers can save time and avoid potential issues caused by incompatible dependencies.
app.js: the app.js file is a crucial component that is responsible for handling the application's server-side logic. The app.js file typically consists of a variety of functions and modules that work together to ensure the smooth functioning of the application.
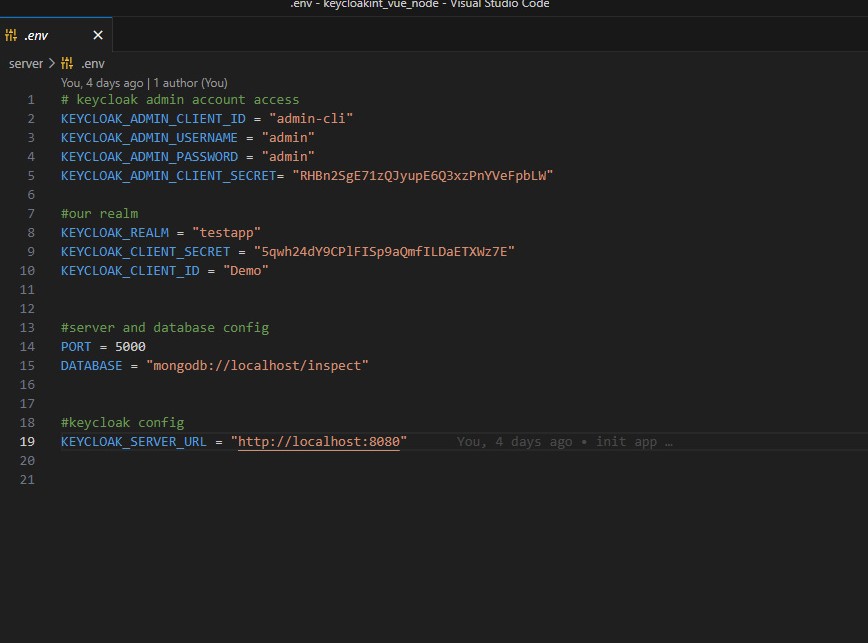
.env file to save the keycloak configurations: You can create a .env file in your project and save the keycloak configuration settings. This file includes other important environment variables that this project requires to function properly. remember our keycloak configuration I wrote about in the beginning of this blog , those variables we need to save it in our .env file
Routes:
const router = require('express').Router();
const userController = require('../controllers/usercontroller');

router.post('/register', userController.createUser)
router.post('/login', userController.loginUser)
router.post('/logout', userController.logoutUser)
router.post('/verifytoken', userController.verifytoken)
router.post('/refreshtoken', userController.refreshUserToken)

//export router
module.exports = router;
we will making this app just basic for user authentication and these are the basic routes for it nothing too complicated
now we will focusing simultaneously on the controllers and keycloak folder which we will find userController.js and functions.js in them.
In the keycloak folder in our functions.js we need to write some functions like
async function connectToAdminCLI() {
  const keycloakUrl = `${process.env.KEYCLOAK_SERVER_URL}/realms/master/protocol/openid-connect/token`
  const data = new URLSearchParams({
    'username': process.env.KEYCLOAK_ADMIN_USERNAME,
    'password': process.env.KEYCLOAK_ADMIN_PASSWORD,
    'grant_type': "password",
    'client_id': process.env.KEYCLOAK_ADMIN_CLIENT_ID,
    'client_secret': process.env.KEYCLOAK_ADMIN_CLIENT_SECRET,
  })
  const res = await connectToKeycloak(keycloakUrl, data);
  return res;
}

async function addUserToKeycloak(realm, username, firstname, lastname, email, password, token) {
  const keycloakUrl = `${process.env.KEYCLOAK_SERVER_URL}/admin/realms/${realm}/users`
  const user = {
    "username": username,
    "firstName": firstname,
    "lastName": lastname,
    "email": email,
    "enabled": true,
    "credentials": [
      {
        "temporary": false,
        "type": "password",
        "value": password
      }
    ]
  }

  const response = await axios.post(keycloakUrl, user,
    {
      headers: {
        'Content-Type': 'application/json',
        'Authorization': `Bearer ${token}`
      }
    })
  return response
}
connectToAdminCLI()
This function connects to Keycloak's administrative command-line interface (CLI).The function uses environment variables we saved eairler in our .env file, (KEYCLOAK_SERVER_URL, KEYCLOAK_ADMIN_USERNAME, KEYCLOAK_ADMIN_PASSWORD, KEYCLOAK_ADMIN_CLIENT_ID, and KEYCLOAK_ADMIN_CLIENT_SECRET ) to construct a URL for Keycloak's /realms/master/protocol/openid-connect/token endpoint, and then sends a POST request with a URLSearchParams object containing the environment variables listed above . The response is then returned containing the admin access tokens which we can be used as Authorization to add users and delete users from our keycloak server
UserToKeycloak()
Adds a user to Keycloak. The function takes the following arguments:
realm: The name of the realm in which to create the user.
username: The username of the user to be created.
firstname: The first name of the user to be created.
lastname: The last name of the user to be created.
email: The email address of the user to be created.
password: The password of the user to be created.
token: An access token that grants the function permission to create a user in Keycloak. get token from connectToAdminCLI() iI mentioned above and sends a post request to ${process.env.KEYCLOAK_SERVER_URL}/admin/realms/${realm}/users
now we need to the write the request handlers to get a users credentials and add them to our keycloak app
In controllers/userControllers.js
const createUser = async (req, res) => {
    try {
        const newUser = {
            firstname: req.body.firstname,
            lastname: req.body.lastname,
            username: req.body.username,
            email: req.body.email,
            password: bcrypt.hashSync(req.body.password, 10)
        }
        //save user credentials to local db
        const saveUser = await UserService.AddUser(newUser)
        //send user credentials to keycloak server to add user
        const kcAdmin = await keycloak.connectToAdminCLI()//connect to keycloak admin
        const kcToken = kcAdmin.data.access_token;
        const realm = process.env.KEYCLOAK_REALM;
        const addUserToKc = await keycloak.addUserToKeycloak(realm, saveUser.username, newUser.firstname, newUser.lastname, newUser.email, req.body.password, kcToken)
        return res.status(200).json(`User Created Successfully`)

    } catch (error) {
        if (error.message === 'User Registration Error') {
            return res.status(409).json({
                title: 'User Registration Error',
                error: error.message
            });
        } else {
            return res.status(500).json({
                title: 'server error',
                error: error.message
            });
        }
    }
}
This createUser function basically is getting the request body sent,
saves the information and credentials in our mongo db the logic was written in UserService.AddUser view the source codes for more detailed information about it,
connects to keycloak admin the function we are importing from the functions.js and get the response
save the admin tokens from the response in the variable kcToken
get the realm name where our users will be added
and calls the function addUserToKeycloak from the functions.js with the parameters listed there
and that’s it, the user is successfully in our keycloak app too
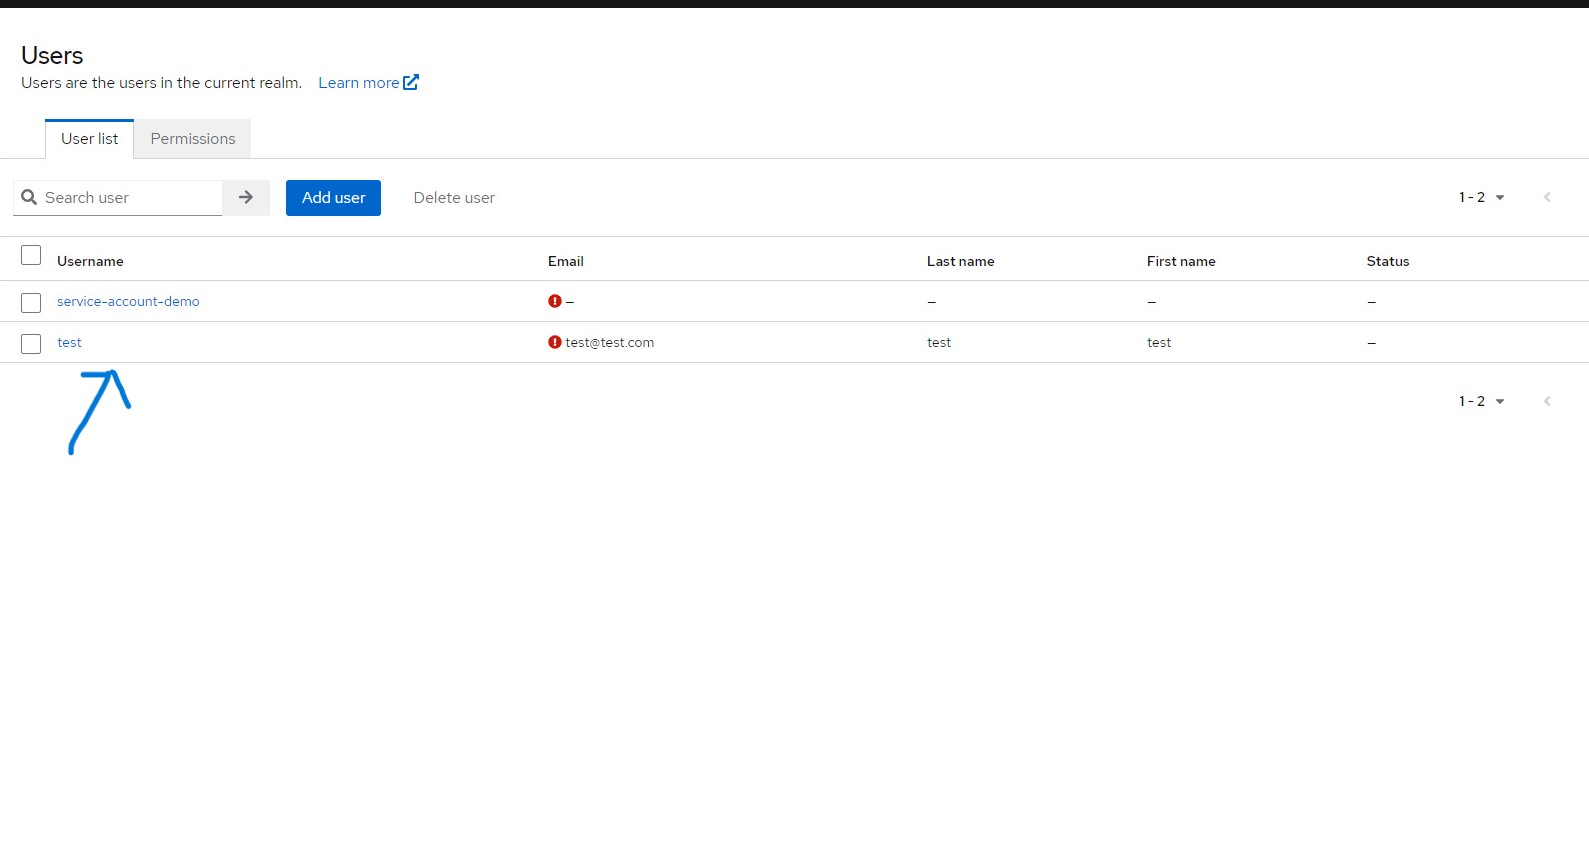
Tip: check your keycloak app to see if the user was added successfully
Now lets write a Login and logout logic …
in the keycloak/functions.js
async function getUserToken(realm, email, password, client_id, client_secret) {
  const keycloakUrl = `${process.env.KEYCLOAK_SERVER_URL}/realms/${realm}/protocol/openid-connect/token`
  const data = new URLSearchParams({
    'username': email,
    'password': password,
    'grant_type': 'password',
    'client_id': client_id,
    'client_secret': client_secret,
  })

  const res = await connectToKeycloak(keycloakUrl, data)
  return res
}

async function verifyToken(realmUrl, client_id, client_secret, token) {
  const keycloakUrl = `${realmUrl}/protocol/openid-connect/token/introspect`
  const data = new URLSearchParams({
    'client_id': client_id,
    'client_secret': client_secret,
    'token': token
  })

  const res = await connectToKeycloak(keycloakUrl, data)
  return res
}

async function refreshToken(realm, refreshToken, clientId){
  const keycloakUrl = `${realmUrl}/realms/${realm}/protocol/openid-connect/token`
  const data = "grant_type=refresh_token&refresh_token=" + refreshToken + `&client_id=${clientId}`

  const res = await connectToKeycloak(keycloakUrl, data)
  return res
}

async function logoutUser(realmUrl, client_id, client_secret, refresh_token) {
  const keycloakUrl = `${realmUrl}/protocol/openid-connect/logout`
  const data = new URLSearchParams({
    'client_id': client_id,
    'client_secret': client_secret,
    'refresh_token': refresh_token
  })
  const res = await connectToKeycloak(keycloakUrl, data)
  return res
}
getUserToken()
Gets the access token for a user in Keycloak. The function takes the following arguments:
realm: The name of the realm in which the user is registered.
email: The email address of the user for whom to get an access token.
password: The password of the user for whom to get an access token.
client_id: The client ID of the application for which the access token is being requested.
client_secret: The client secret of the application for which the access token is being requested.
verifyToken()
Sends a request to a Keycloak server to verify if a token is valid. The function takes the following arguments:
token: token to be checked
client_id: The client ID of the application for which the access token is being requested.
client_secret: The client secret of the application for which the access token is being requested.
logoutUser()
this function logs out a user from a Keycloak server. It constructs a URL using the realmUrl and keycloakUrl parameters, which it then uses to send a request containing client_id, client_secret, and refresh_token parameters. The logoutUser function takes four arguments:
realmUrl: a string containing the URL of the Keycloak realm.
client_id: a string containing the client ID of the application that is authenticating the user.
client_secret: a string containing the client secret of the application that is authenticating the user.
refresh_token: a string containing the refresh token that was issued to the user when they logged in.
And lets not forget
connectToKeycloak()
async function connectToKeycloak(keycloakUrl, data) {
  return await axios.post(keycloakUrl, data,
    {
      headers: {
        'Content-Type': 'application/x-www-form-urlencoded',
      }
    })
}
A helper function that sends a request to a Keycloak server. It takes two arguments:
keycloakUrl: a string containing the URL of the Keycloak server. data: an object containing the parameters to be sent in the request
Lets link this functions to our request functions in Usercontroller.js
In controller/userController.js
//login and send user token and refresh token to client
const loginUser = async (req, res) => {
    try {
        console.log(req.body)
        const user = await UserService.findAndVerifyUser(req.body.username, req.body.password);
        const email = user.email;
        const password = req.body.password;

        //realm details
        const realm = process.env.KEYCLOAK_REALM;
        const client_id = process.env.KEYCLOAK_CLIENT_ID
        const client_secret = process.env.KEYCLOAK_CLIENT_SECRET

        //keycloak login api call
        const tokens = await keycloak.getUserToken(realm, email, password, client_id, client_secret);
        return res.status(200).json({
            token: tokens.data.access_token,
            refresh_token: tokens.data.refresh_token, // to refresh or revoke access token
        });
    } catch (error) {
        if (error.message === 'user not found') {
            return res.status(404).json({
                title: 'user not found',
                error: error.message
            });
        } else if (error.message === 'invalid credentials') {
            return res.status(401).json({
                title: 'invalid credentials',
                error: error.message
            });
        } else {
            return res.status(500).json({
                title: 'server error',
                error: error.message
            });
        }
    }
}
Logout a user from keycloak
//pass the token and refresh token to the headers in request
const logoutUser = async (req, res) => {
    try {
        let token = req.headers.token;
        let refresh_token = req.headers.refresh_token;
        let decoded = jwt_decode(token);//decode jwt token to get user client_id
        let realmUrl = decoded.iss; //keycloak hosted url
        let client_id = process.env.KEYCLOAK_CLIENT_ID

        const client_secret = process.env.KEYCLOAK_CLIENT_SECRET

        const response = await keycloak.logoutUser(realmUrl, client_id, client_secret, refresh_token)
        if (response.status === 204) {
            res.status(200).json('User has been logged out');
        } else {
            return res.status(response.status).json({
                title: 'logout error',
                error: response.data
            })
        }
    } catch (error) {
            return res.status(500).json({
                title: 'server error',
                error: error.message
            });
    }
}
verify and refresh tokens for keycloak
//verify user keycloak access token
//pass token to the headers in request
const verifytoken = async (req, res) => {
    try {
        let token = req.headers.token;
        let decoded = jwt_decode(token);//decode jwt token to get user realm
        let realmUrl = decoded.iss; //keycloak server url with realm name
        let client_id = process.env.KEYCLOAK_CLIENT_ID

        const client_secret = process.env.KEYCLOAK_CLIENT_SECRET

        const check = await keycloak.verifyToken(realmUrl, client_id, client_secret, token);

        // Check the "active" property to determine if the token is valid
        if (check.data.active) {
            res.status(200).json('Access token is valid');
        } else {
            res.status(401).json('Access token is invalid or expired');
        }

    } catch (error) {
            return res.status(500).json({
                title: 'server error',
                error: error.message
            });
    }
}

//refresh user token
const refreshUserToken = async(req, res) =>{
    try {
        let refresh_token  = req.body.refresh_token
        let client_id = req.body.client_id
        let realm  = req.body.realm

        const refresh = keycloak.refreshToken(realm, refresh_token, client_id)
        res.send(refresh)

    } catch (error) {
        return res.status(500).json({
            title: 'server error',
            error: error.message
        })
    }
}
why the add verify user token and refresh user token from keycloak
There are several reasons why it may be necessary to add the functionality to verify user tokens and refresh user tokens from Keycloak. Firstly, verifying user tokens ensures that the tokens are valid and have not been tampered with, which is crucial for maintaining security and protecting sensitive information. Additionally, the ability to refresh user tokens ensures that users can continue to access protected resources without having to constantly re-authenticate, providing a seamless user experience. Moreover, implementing these features can improve the overall reliability and performance of the system, as it reduces the likelihood of errors or issues arising from invalid tokens or authentication failures. Therefore, adding the ability to verify and refresh user tokens can have a significant impact on the security, usability, and functionality of the system.
And there you go the node app is connected to our keycloak app
In conclusion, integrating Keycloak's REST API with Node.js can provide next-level authentication for our applications. By securing our endpoints and obtaining access and refresh tokens, we can ensure that our users' data is kept safe from unauthorized access and we can also use Keycloak's JavaScript adapter which also provides a convenient way to authenticate users without having to handle the authentication flow ourselves but that will be for another time.
In the next blog we will talk on how to implement the frontend app using Vue js.
Source code:https://github.com/fredcodee/user-authentication-with-keycloak
Thank you for reading …….